빠른 시작
설치 및 생성
Xenarix 설치를 위해 pip를 이용함 :
$ pip install xenarix
설치된 Xenarix 라이브러리를 포함시킴 :
import xenarix as xen
import xenarix.sample as xen_s
시나리오 세트를 생성함 :
scenSet = xen.ScenarioSet(set_name='set1')
시나리오 객체를 생성하고, 객체에 모델을 추가함 :
scen1 = xen.Scenario(scen_id='scen_id1', result_id='result_id1')

scen1.add_model(xen_s.gbm('kospi200'))
scen1.add_model(xen_s.hw1f('irskrw'))
시나리오 객체를 시나리오 세트에 추가 하고, 생성을 시작함 :
scenSet.add_scenario(scen1)
scenSet.generate()
결과 조회
생성된 시나리오는 2가지 방법으로 조회할 수 있습니다.
- Python result loader
ResultObj 객체를 생성함 :
import xenarix.results as xen_r

res = xen_r.ResultObj('set1', 'scen_id1', 'result_id1')
TimeGrid 객체의 반복문 사용 방법 :
for t in res.timegrid:
    print (t)  # Pandas(INDEX=16L, DATE='2015-09-18', T=0.043835616438356005, DT=0.0027397260273970005)
특정 시나리오에 해당하는 전체모델을 조회함 :
multipath = res.get_multipath(scen_count=1)
print (multipath)  # pandas table shape(t_count, model_count)
특정 모델에 해당하는 전세 시나리오를 조회함 :
modelpath = res.get_modelpath(model_count=1)
print (modelpath)  # ndarray : shape(scenarioNum, t_count)
- 윈도우 이용자를 위한 ResultViewer
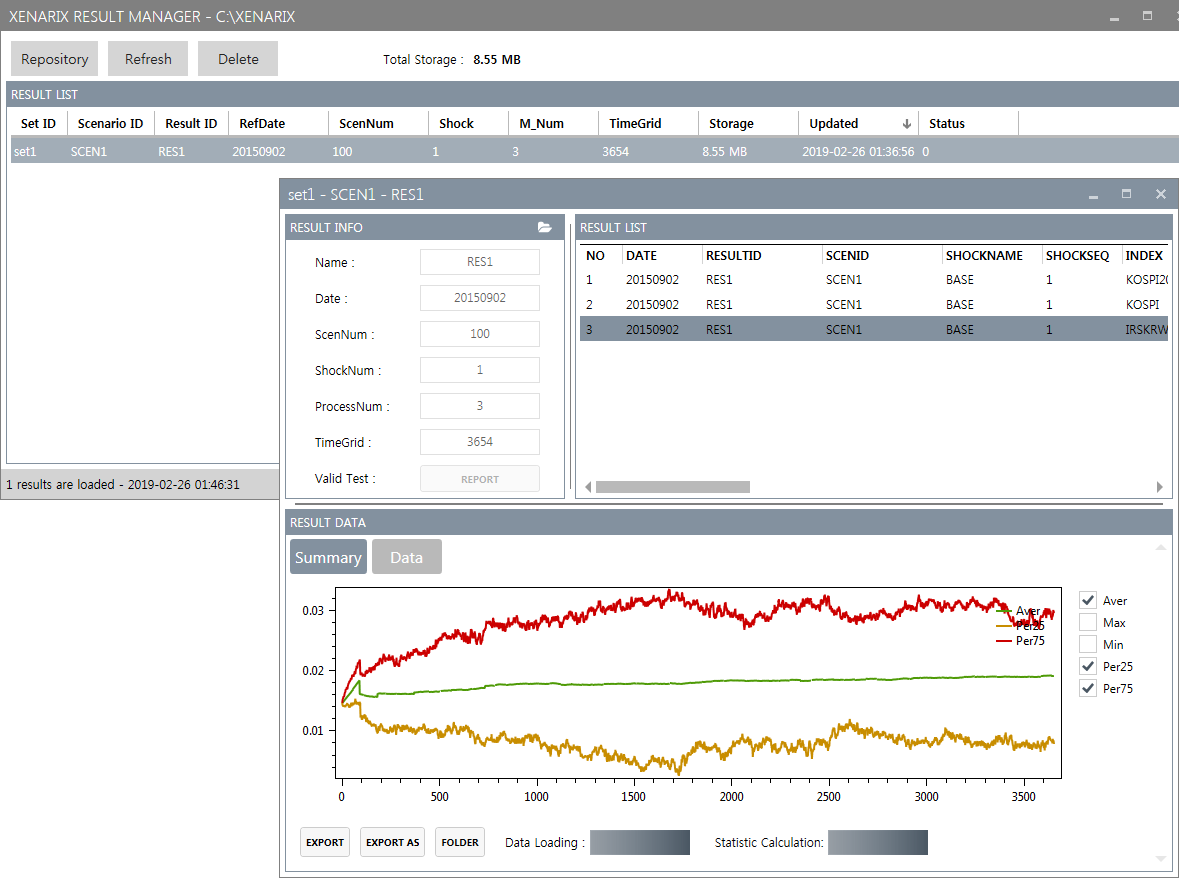
ResultViewer를 다운로드 후 압축을 풀고 Setup.exe을 실행하여 설치 할 수 있습니다.